Workspaces
On this page
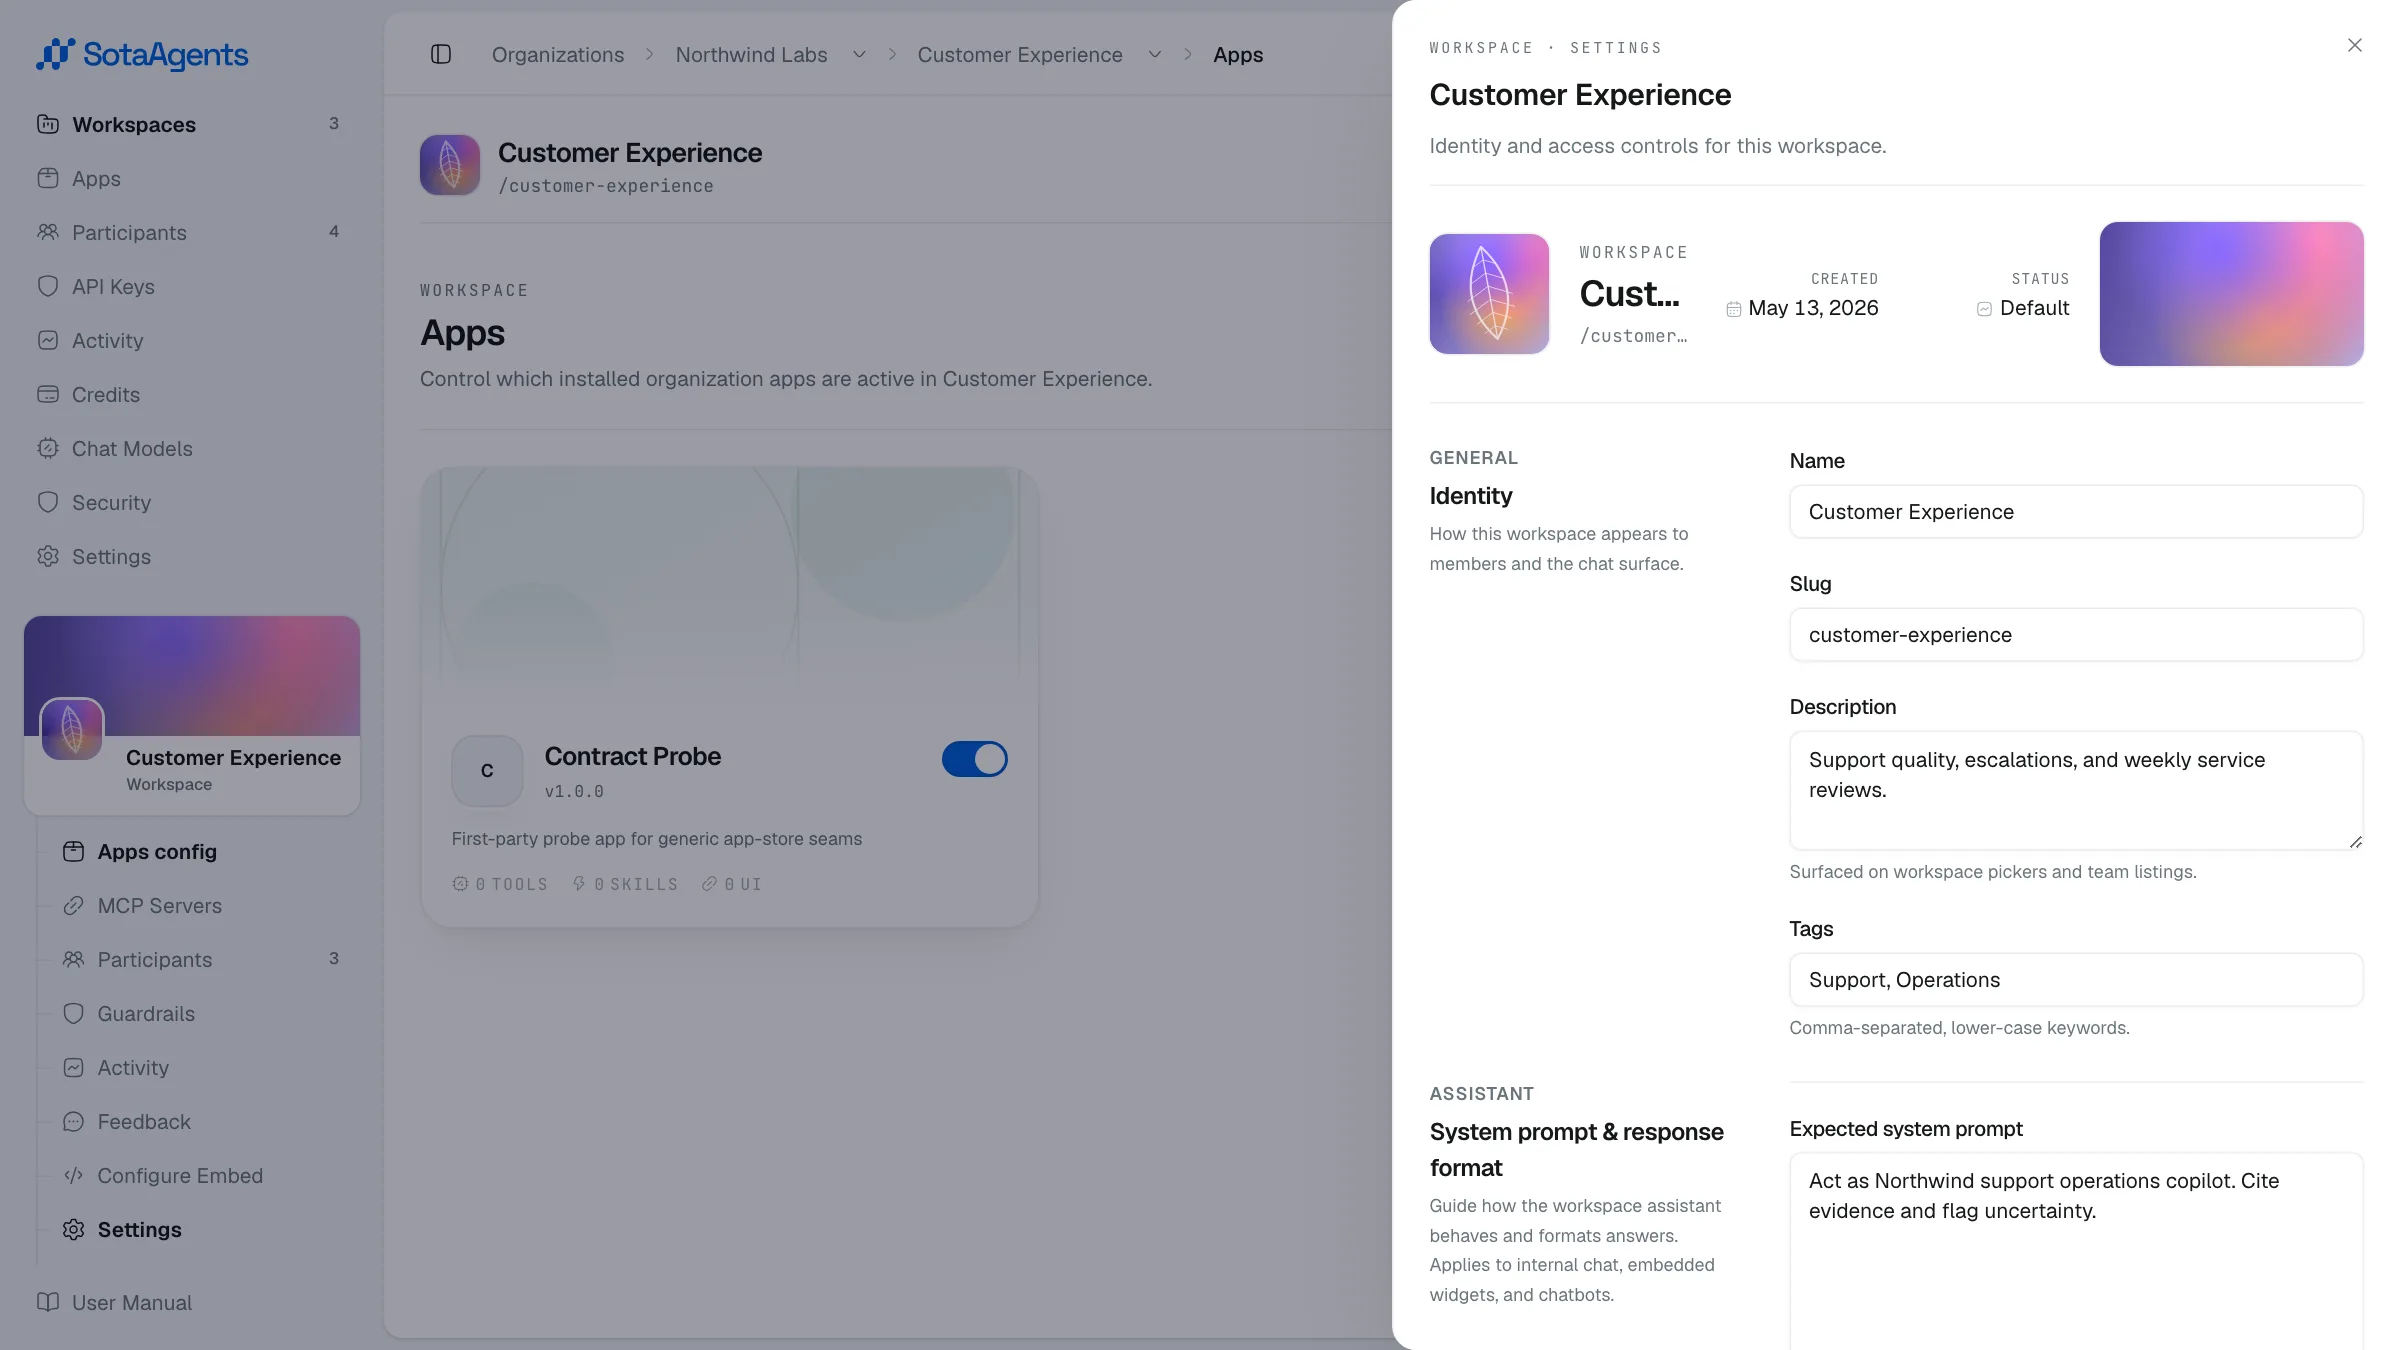
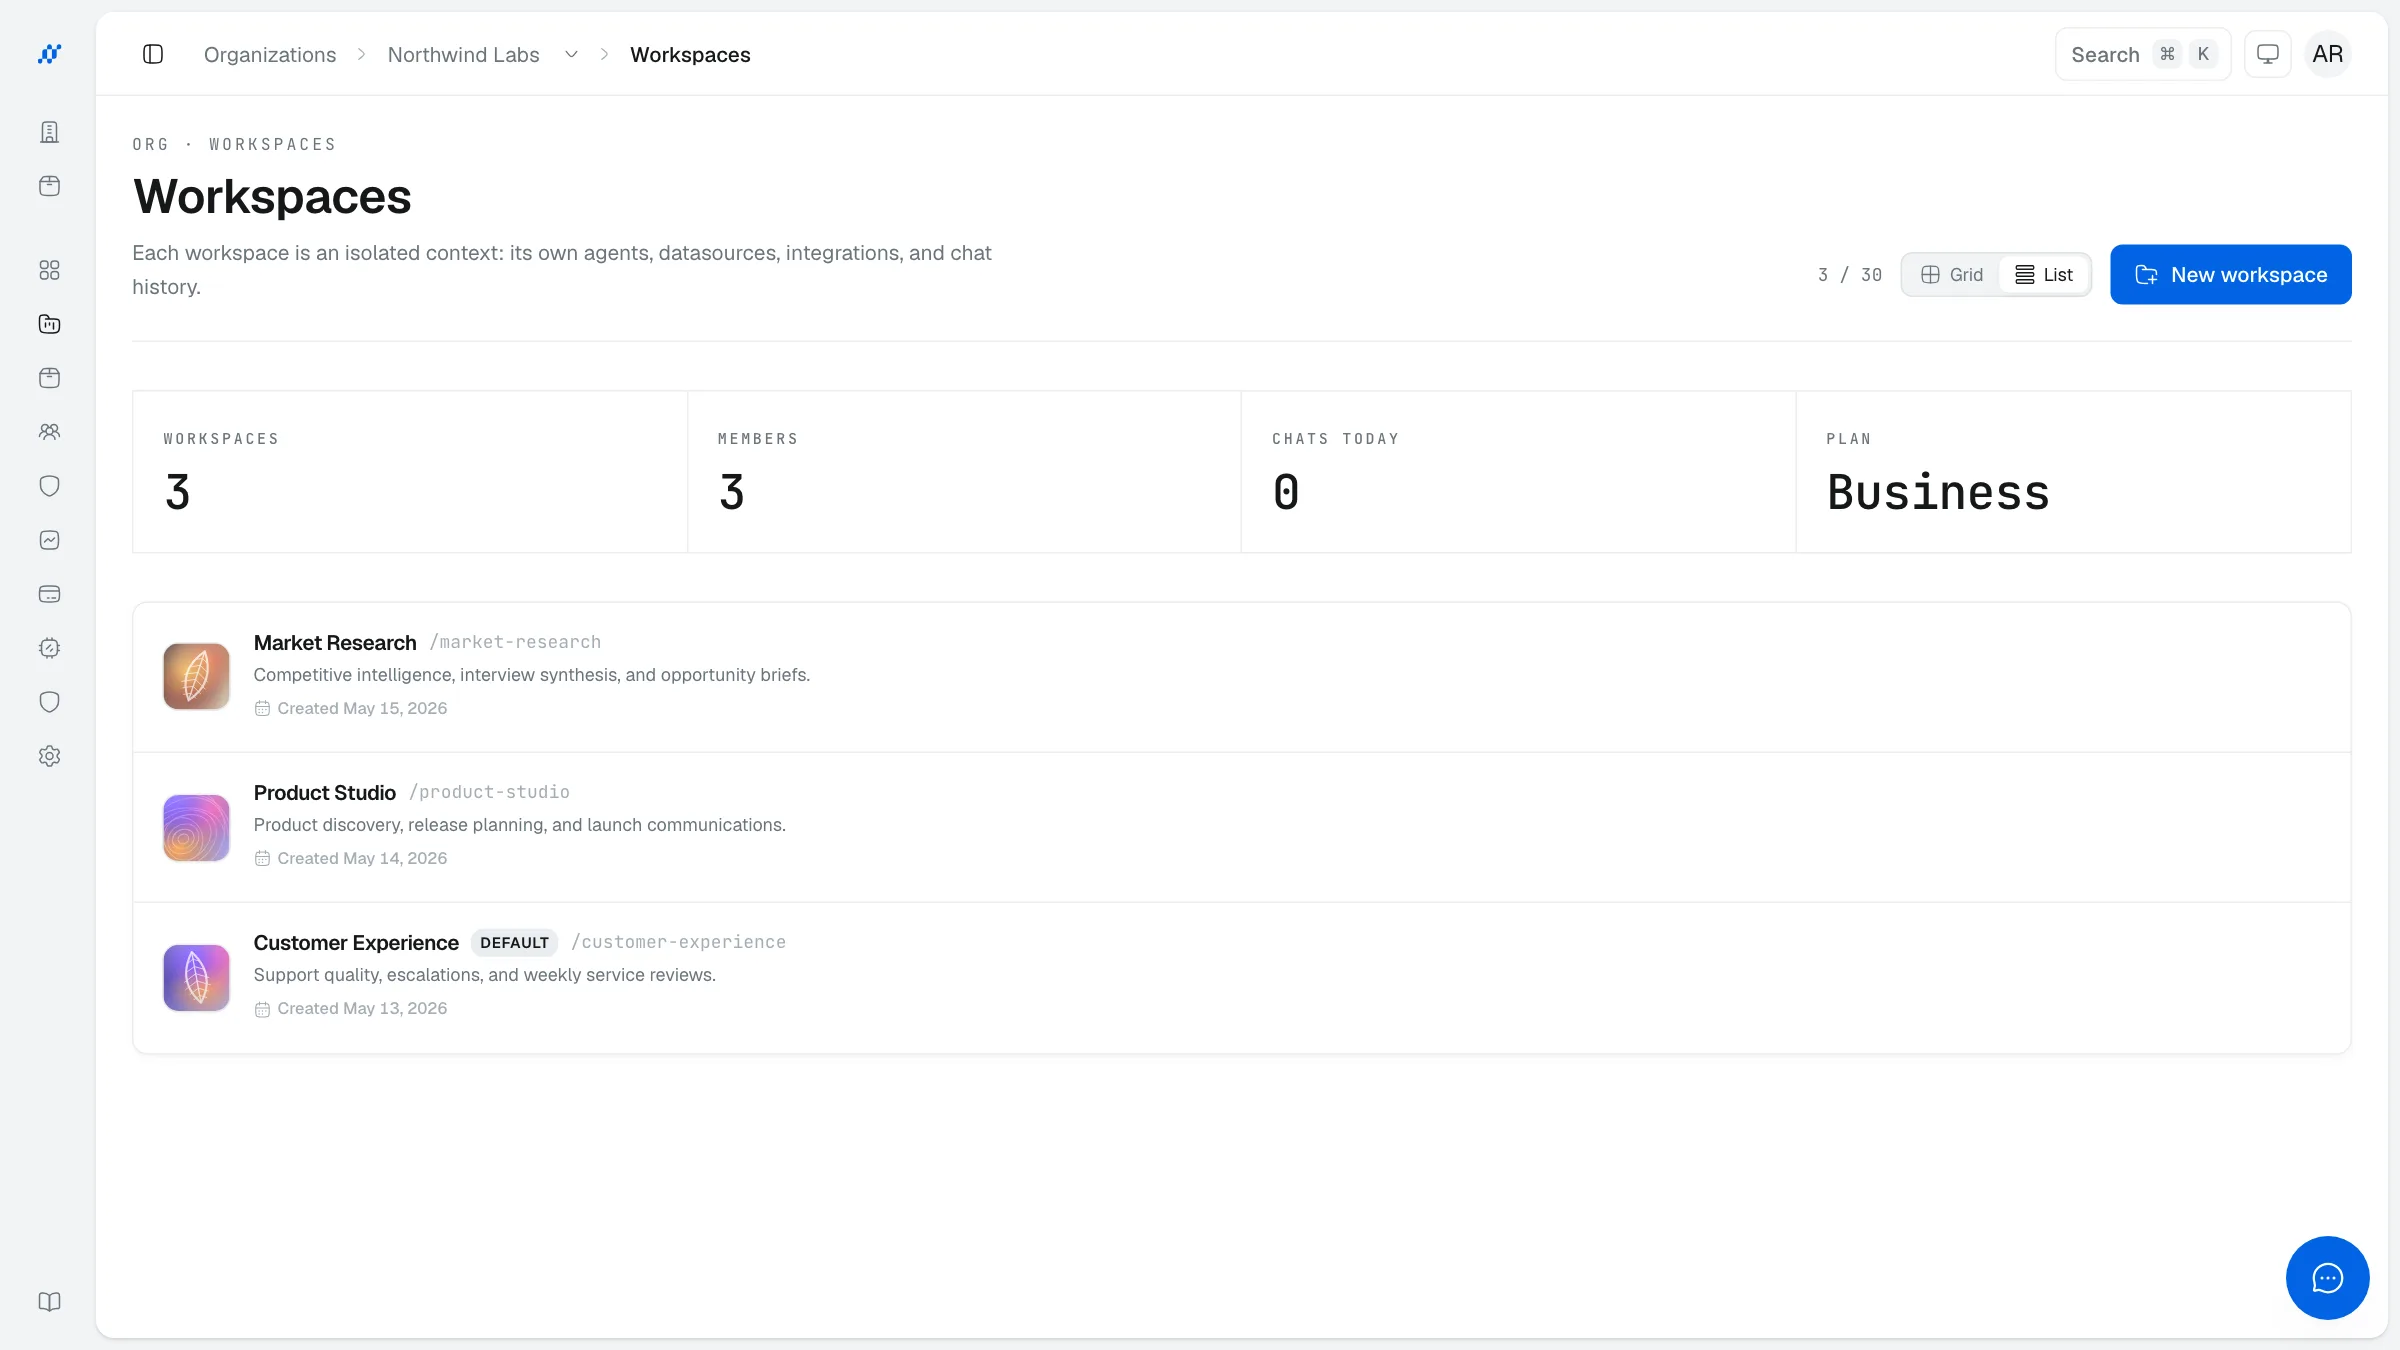
The Workspaces tab lists every workspace in your org. From here you can create new workspaces or drill into an existing one to configure it.
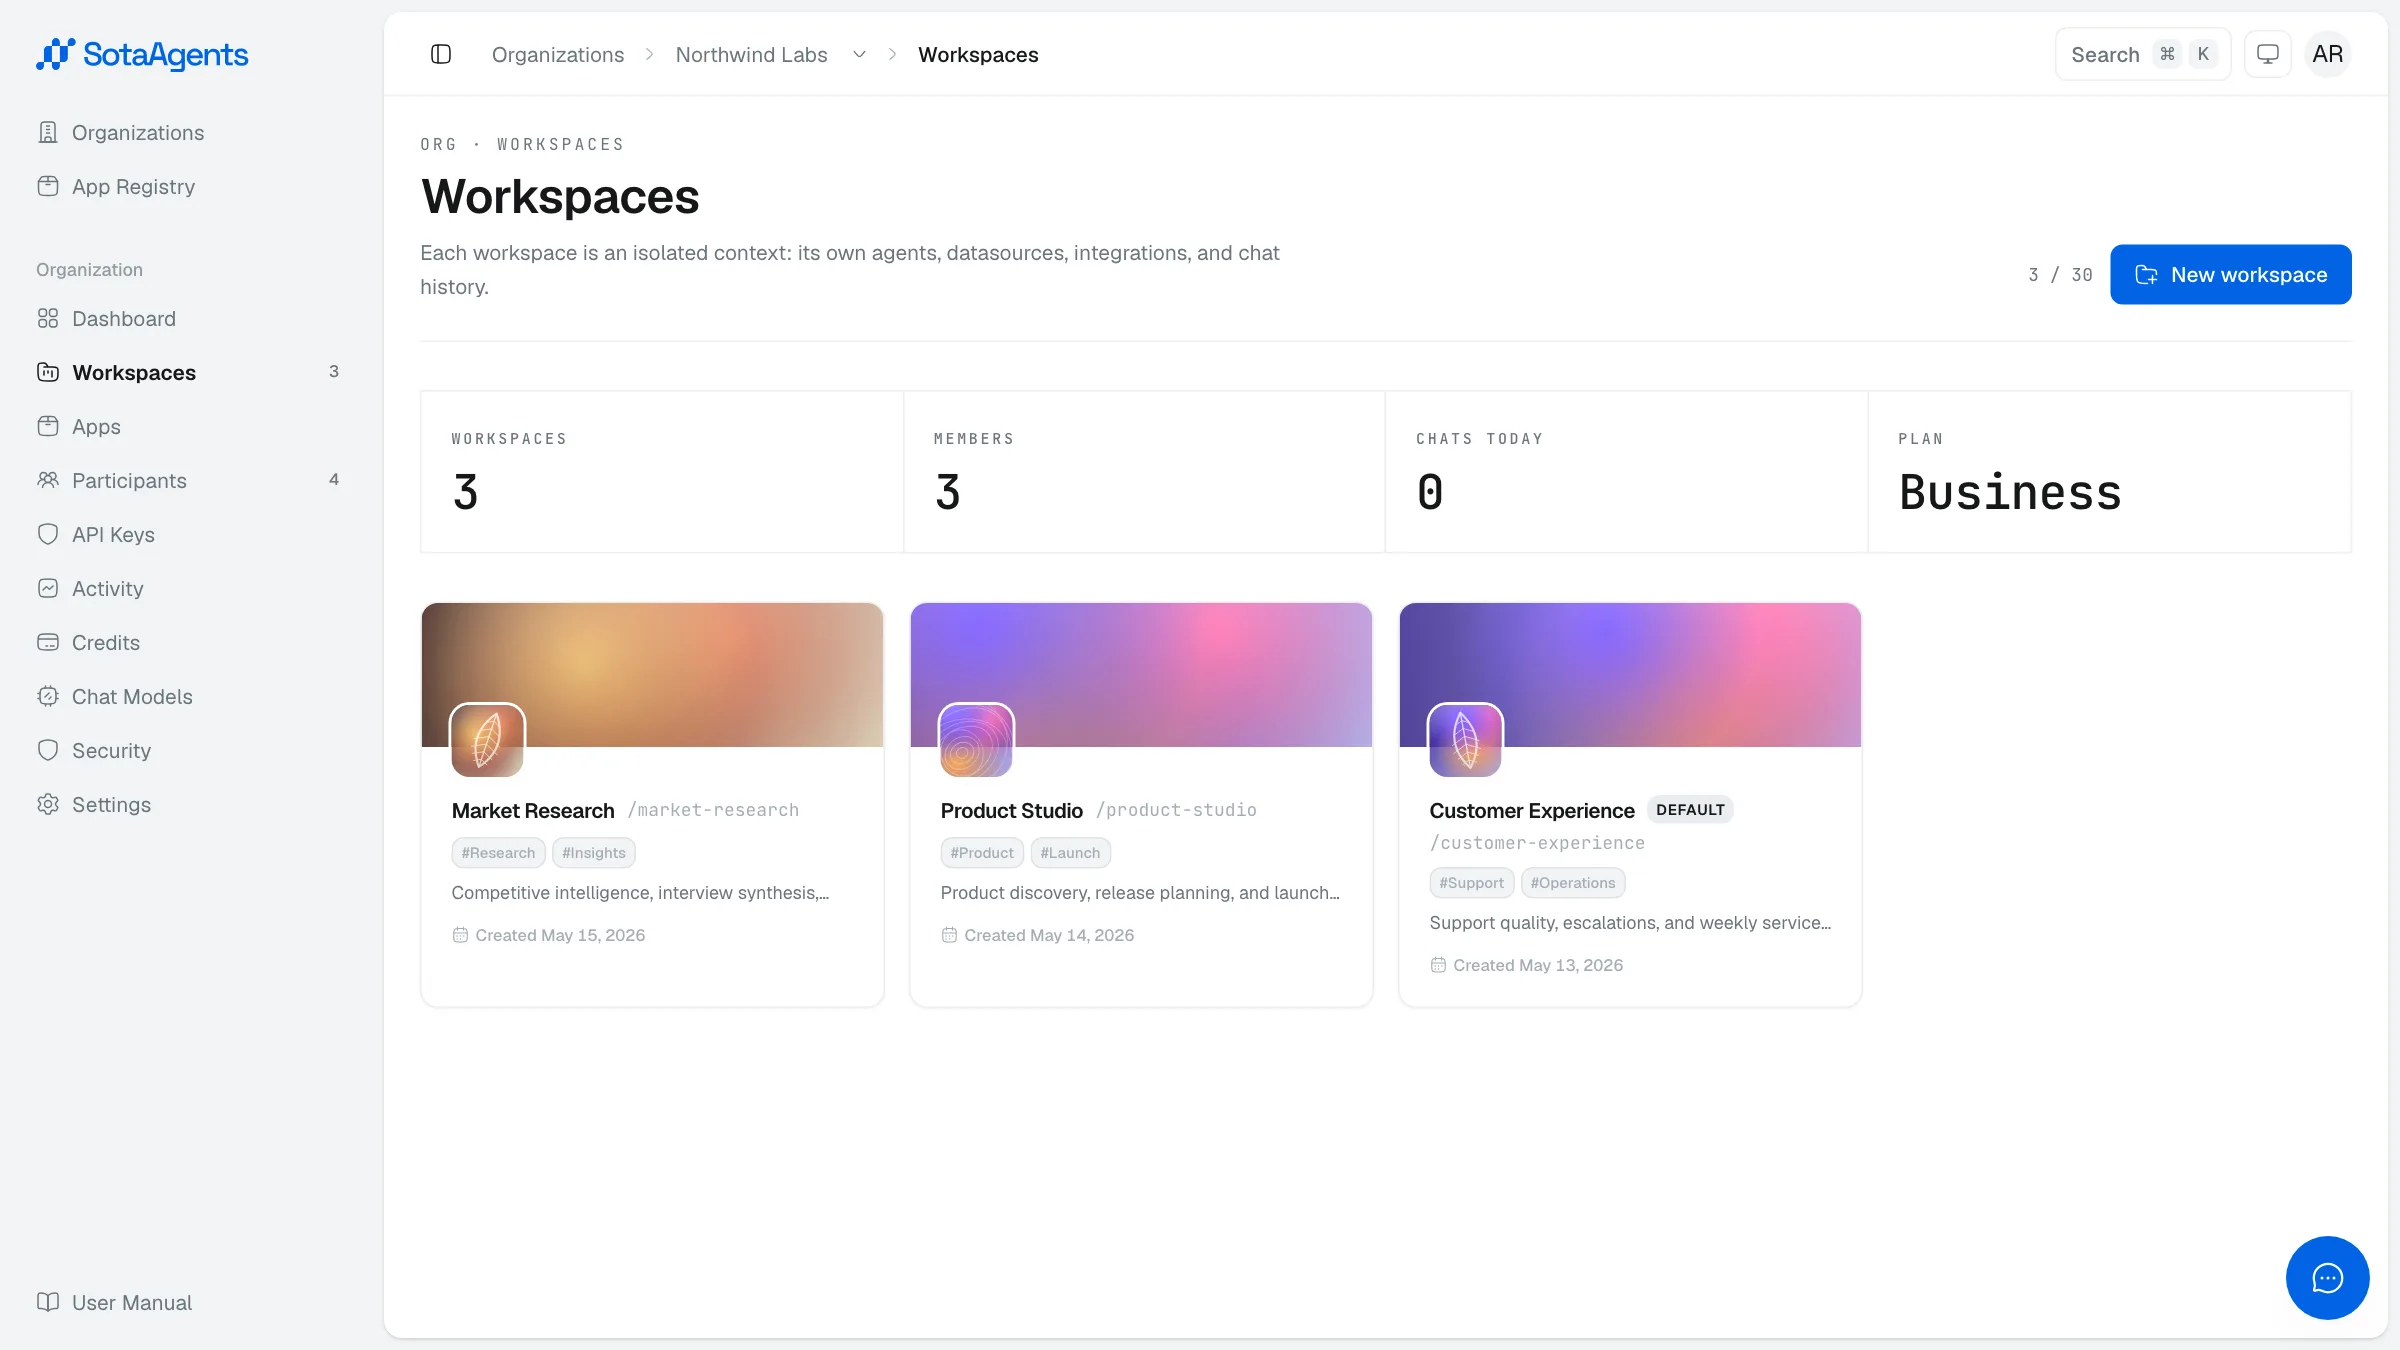
Use the Grid / List toggle above the workspace collection to switch between visual cards and compact rows. The choice changes presentation only.
Creating a workspace#
Click Create workspace
From the Workspaces tab, click the Create workspace button. Enter a name and optional description.
Configure it
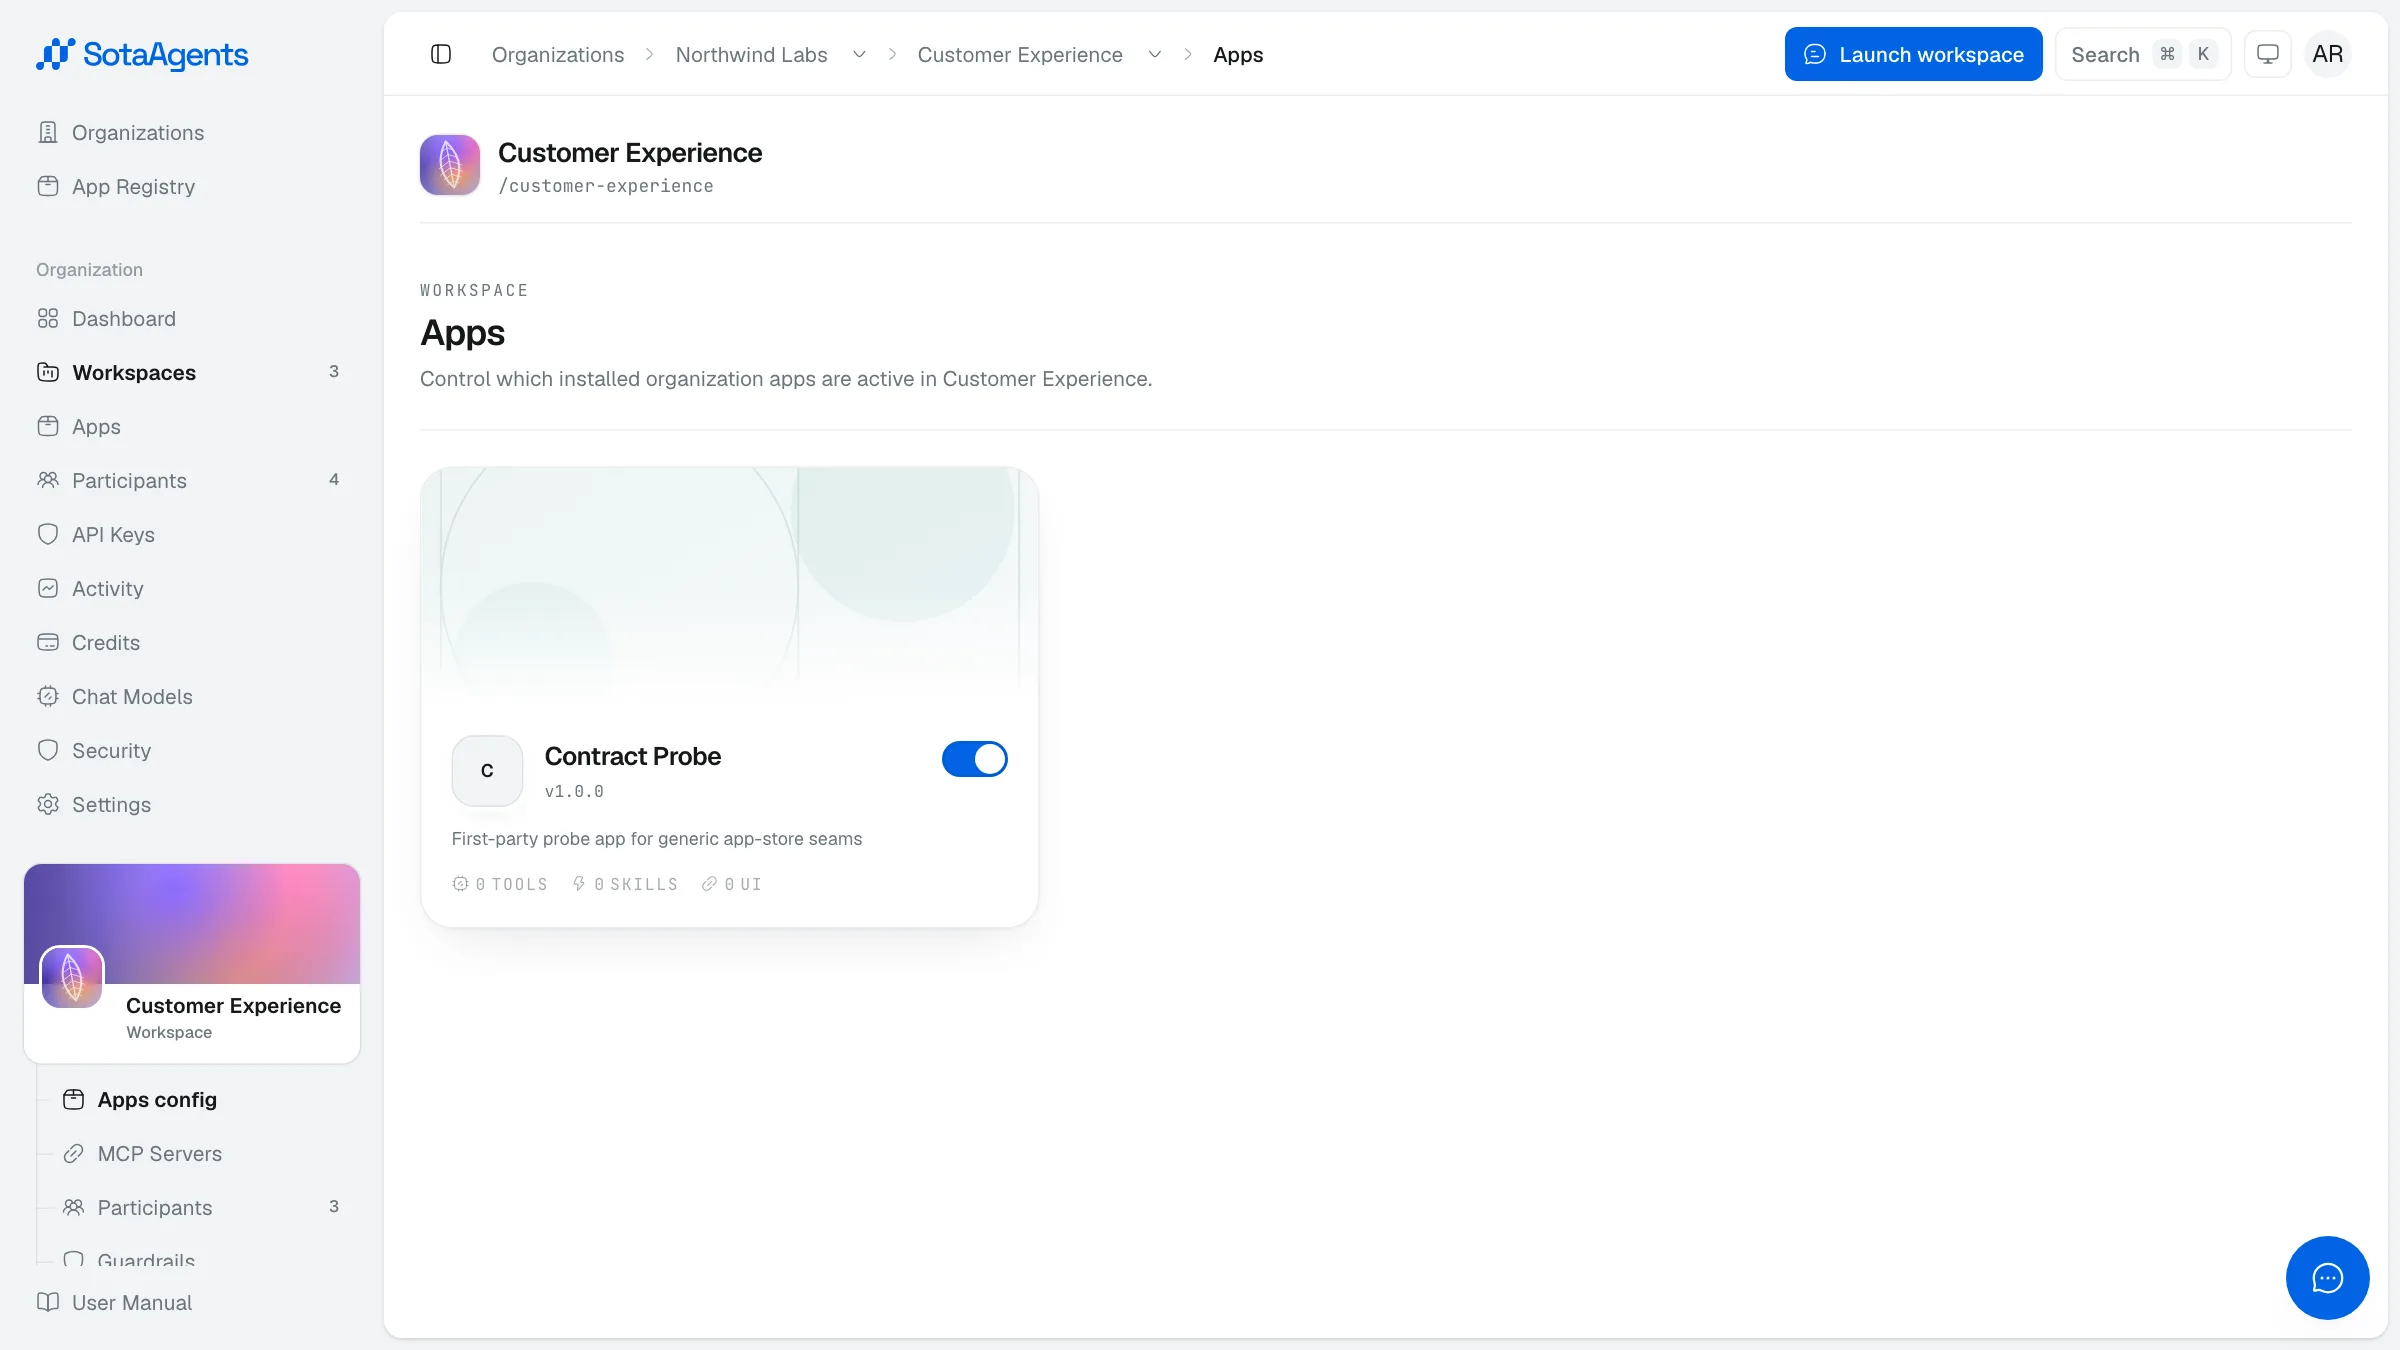
Once created, click the workspace to open its detail screen. From there you can manage Apps, MCP Servers, Participants, Guardrails, Activity, Feedback, Configure Embed, and Settings according to your role.
Workspace-level tabs#
| Tab | What you can do |
|---|---|
| MCP Servers | Connect and manage MCP tool servers for this workspace. |
| Apps | Enable or disable org-installed apps for this workspace individually. |
| Participants | Manage workspace-scoped members and assign workspace roles. |
| Guardrails | Configure and review the workspace's input and tool-output protections. |
| Activity | View the workspace activity log and export to CSV. |
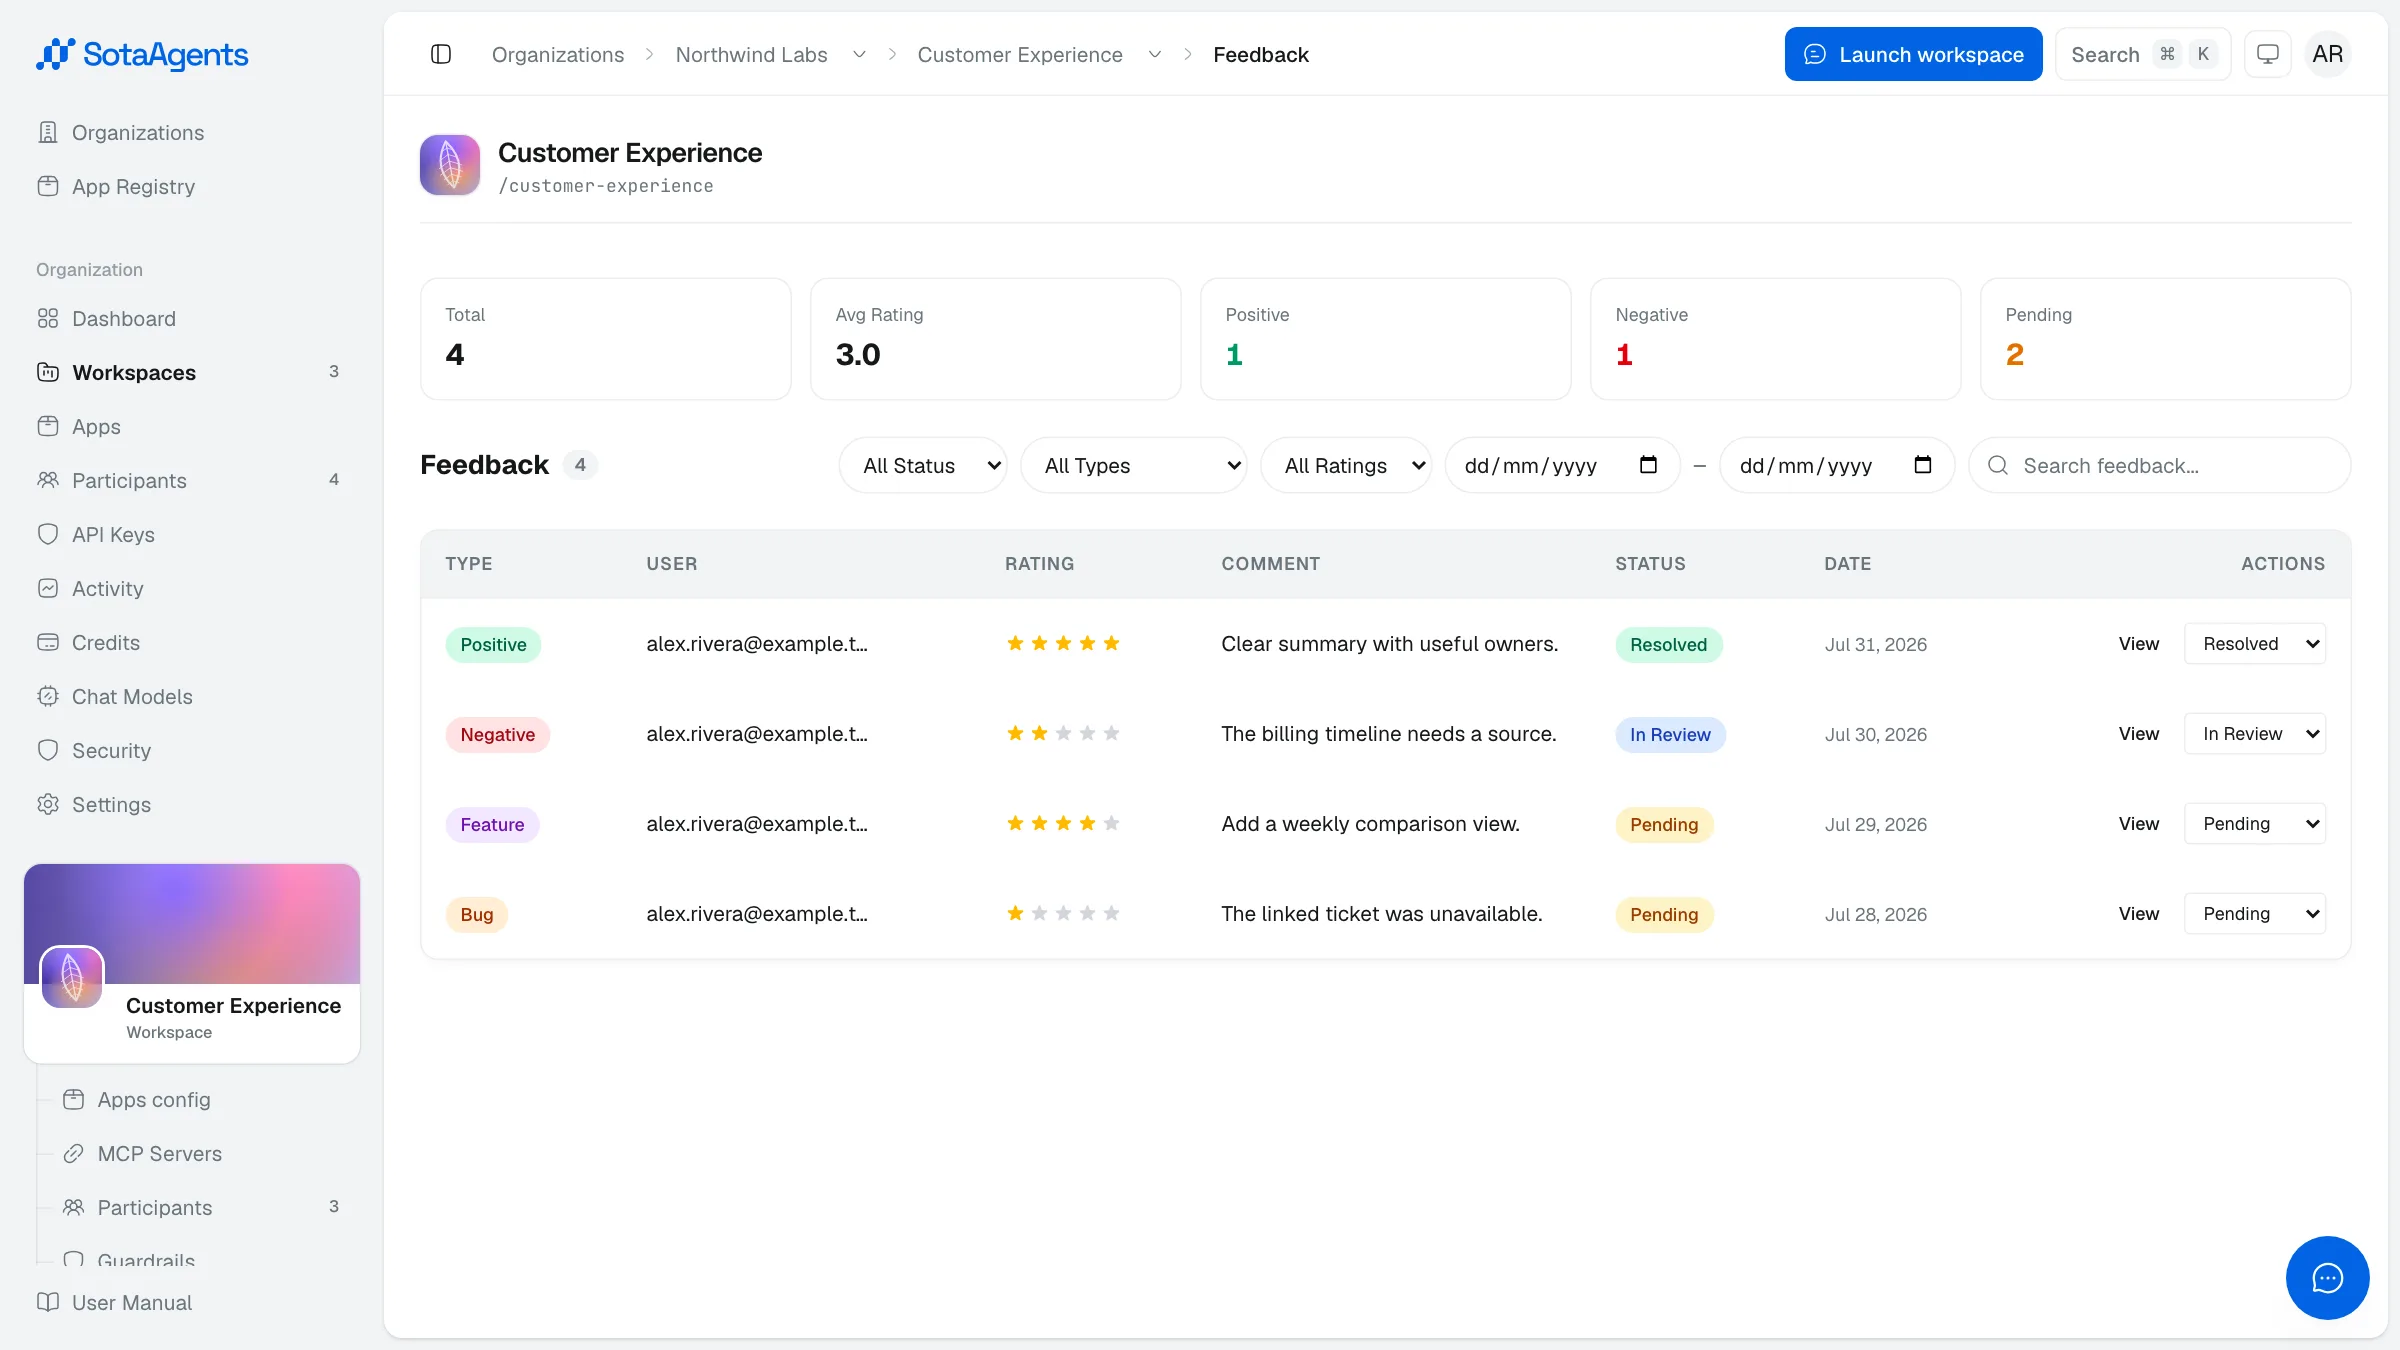
| Feedback | Review user feedback submitted from conversations in this workspace. |
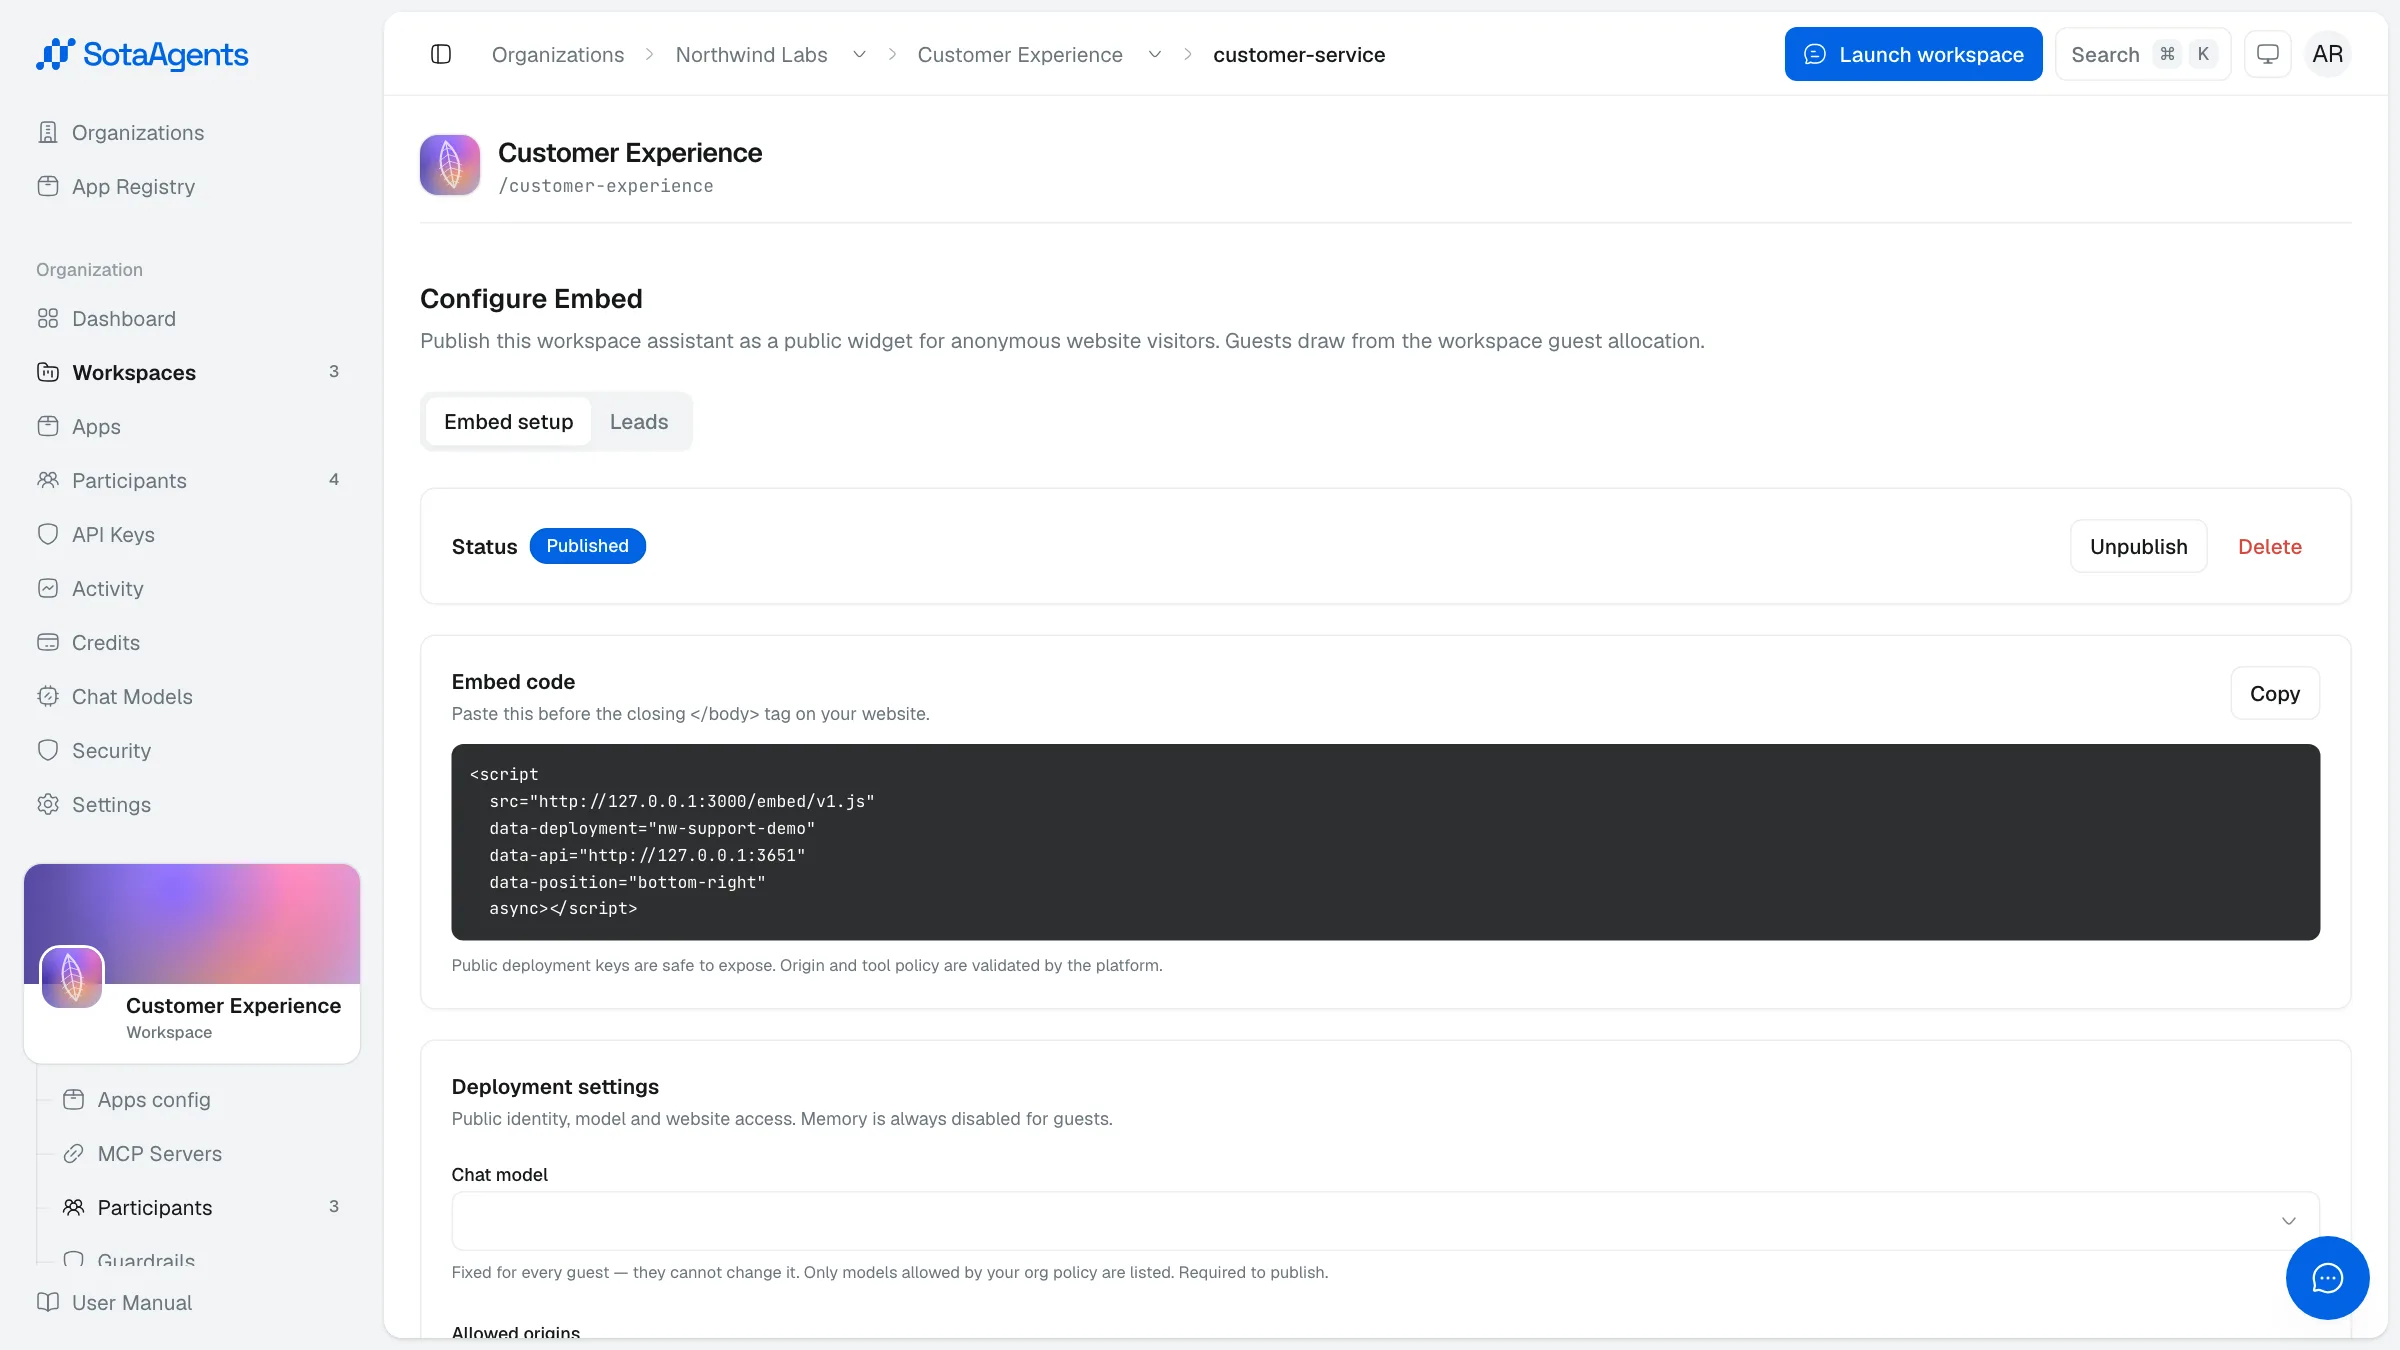
| Configure Embed | Configure, preview, publish, or unpublish a public guest deployment. |
Public Deployment (Configure Embed)#
Organization Owners/Admins with workspace access can open Configure Embed, set allowed origins, choose a chat model, customize appearance and an optional lead form, then preview the guest-facing app/tool exposure. Publishing creates a public deployment; unpublishing stops new guest access without requiring an organization API key in the browser.
- Origin, session, and IP checks are enforced by the public-chat boundary.
- Guest conversations consume the workspace allocation from the separate Guest Credit pool.
- Preview before publish and review the admitted apps/tools and any allocation warning.
The workspace list shows contextual quick-action prompts — e.g. Add datasource, Invite member, Try assistant — so common tasks are one click away.
Workspace settings#
From the workspace detail screen, open Settings (bottom of the workspace sidebar) to rename the workspace or delete it. Deletion is presented as a modal dialog with a confirmation step — once deleted, workspace data cannot be recovered.